Form To Task (Form2Task)
Table of Contents
Overview
Form To Task (Form2Task) is a feature within Checklist designed to streamline the process of collecting and managing information. It enables users to create online forms linked to their checklists, with responses automatically converted into tasks. This feature is particularly beneficial for businesses or organizations requiring structured data input through forms.
Form To Task is tailored for Checklist Pro ↗ users seeking an efficient way to collect responses from individuals or teams. It enhances collaboration and data organization for various purposes, such as:
- Collecting customer feedback.
- Managing job applications.
- Conducting surveys or polls.
- Gathering event registrations.
- Handling service requests.
- And more…
How It Works
1. Create a Checklist
Create a checklist ↗ and select “Table” view during creation.
2. Configure a Form
On the checklist (in Table view), click the Form button:
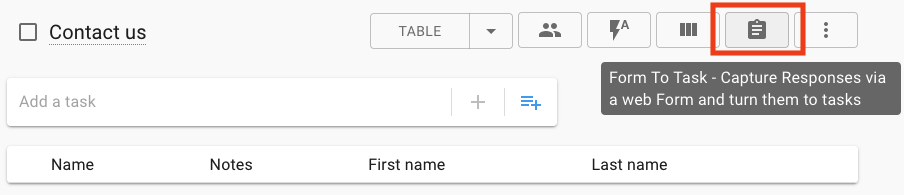
This opens the Form Configuration dialog:
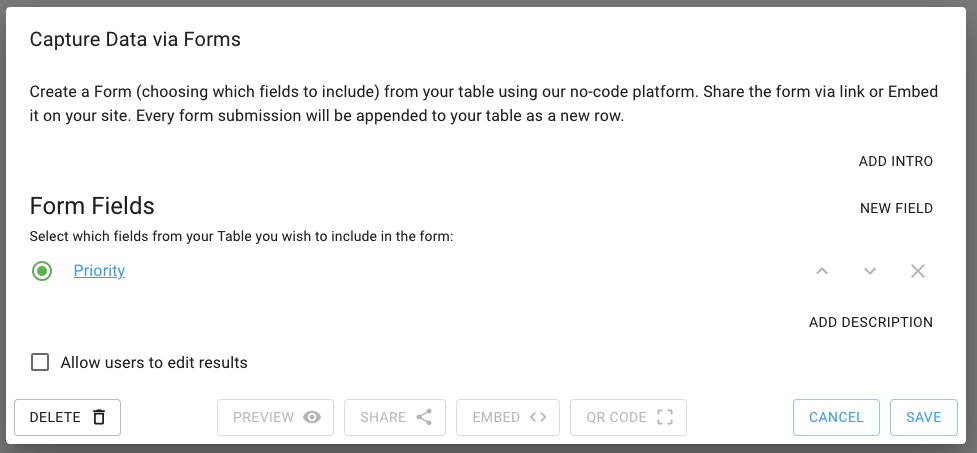
Configure the form by choosing fields, adding intro text or a description, and deciding if the form is editable by responders. Save when ready.
3. Share the Form
Utilize the generated link, QR code, or embed code to share the form with customers, leads, or users.
4. Collecting Responses
Examples like Contact us ↗ or Volunteer Signup ↗ illustrate the process:
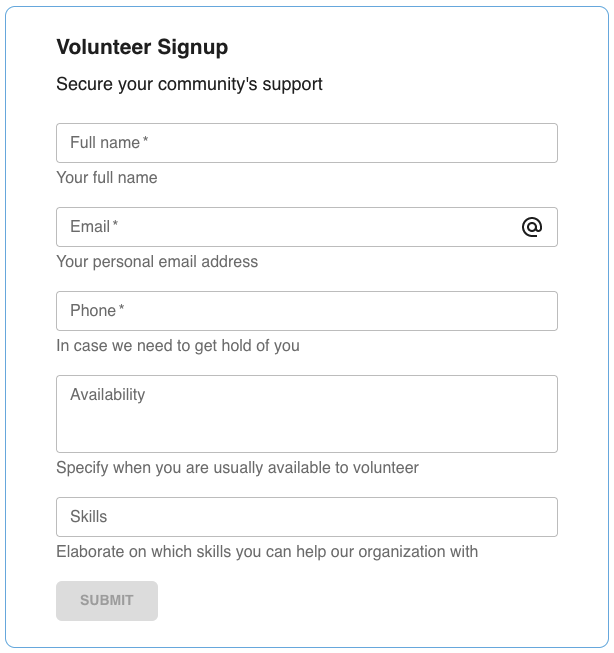
Visitors answer questions, and upon submission, results are recorded as tasks in the checklist.
5. Working with Submissions
Recorded submissions appear as tasks in the checklist, visible in both Table and List views:
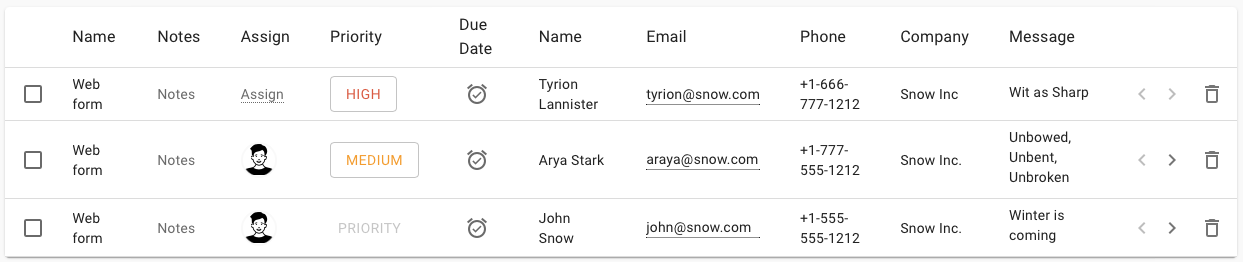
Additional columns can be added for task processing (due dates, priority, assignment, etc.).
Tasks (responses) can be assigned to team members for further processing.
6. Editing Submissions
If enabled in the form configuration, responders can make subsequent modifications to their submissions, immediately reflected in the checklist task:

Form Configuration
The Form Configuration dialog allows you to customize the form according to your needs:
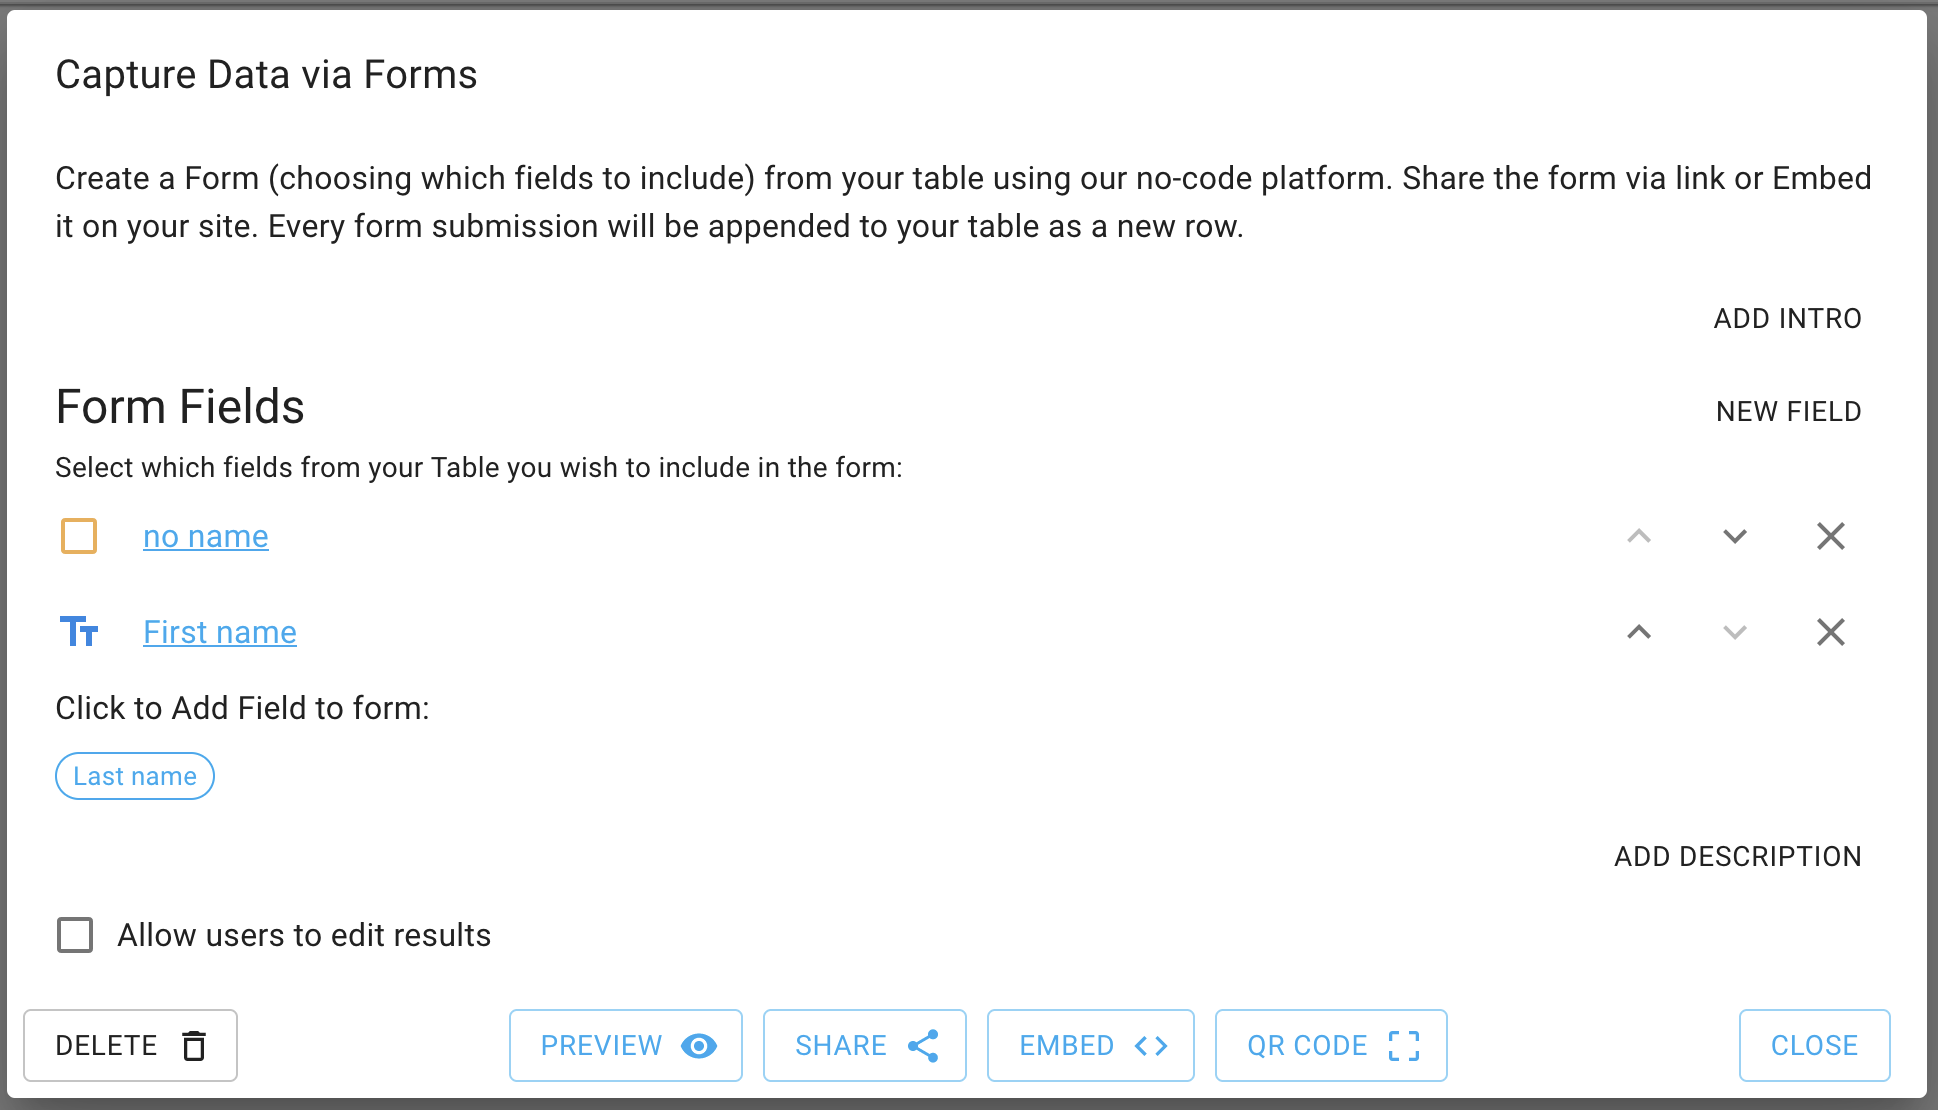
Form Fields
The main section of the form consists of fields. You can add as many fields as needed to the checklist. Choose which ones are used in the form, with the rest hidden from responders, available for use in the checklist itself (both Table and List views). Select from the available Checklist field types ↗.
Note: The Assign field type is currently in beta and may not be available for all users. Contact us ↗ if you’d like to try it out.
Clicking on the X to the right of a field will remove it from the form (and it will be shown below the fields list). To bring it back to the form, click on the field name, and it will be added. Use the Up and Down arrows to change the order of the fields in the form.
If you wish to add a completely new field to the checklist (and the form), click on the “New Field” button. This will open the Add Field dialog where you can choose the field type and name. The new field will be added to the form (and checklist).
Intro & Description
The Intro and Description fields are optional. Use them to provide additional information to responders. The Intro field is displayed at the top of the form, while the Description field is displayed at the bottom. Click on their button to show/hide them.
Editable Link
If you wish to allow responders to edit their responses, enable the Editable Link. This will, once a form is first submitted, generate a link that can be used by visitors to view and update the form submission at a later time.
Changes made to the form submission will be immediately reflected in the checklist task.
This is a powerful feature allowing you to collect information from your customers, leads, or users and then allow them to update it later. For example, you can use it to collect real estate documentation in relation to a sales transaction.
Delete
To delete the form, click on the Delete button. Note that responses already collected will remain in the checklist.
Preview
Click on the Preview button to view the form just as your responders will see it. This is a great way to test the form before sharing it with your customers, leads, or users.
Share
To share your form via a link, click on the Share button. This will open the Share dialog:
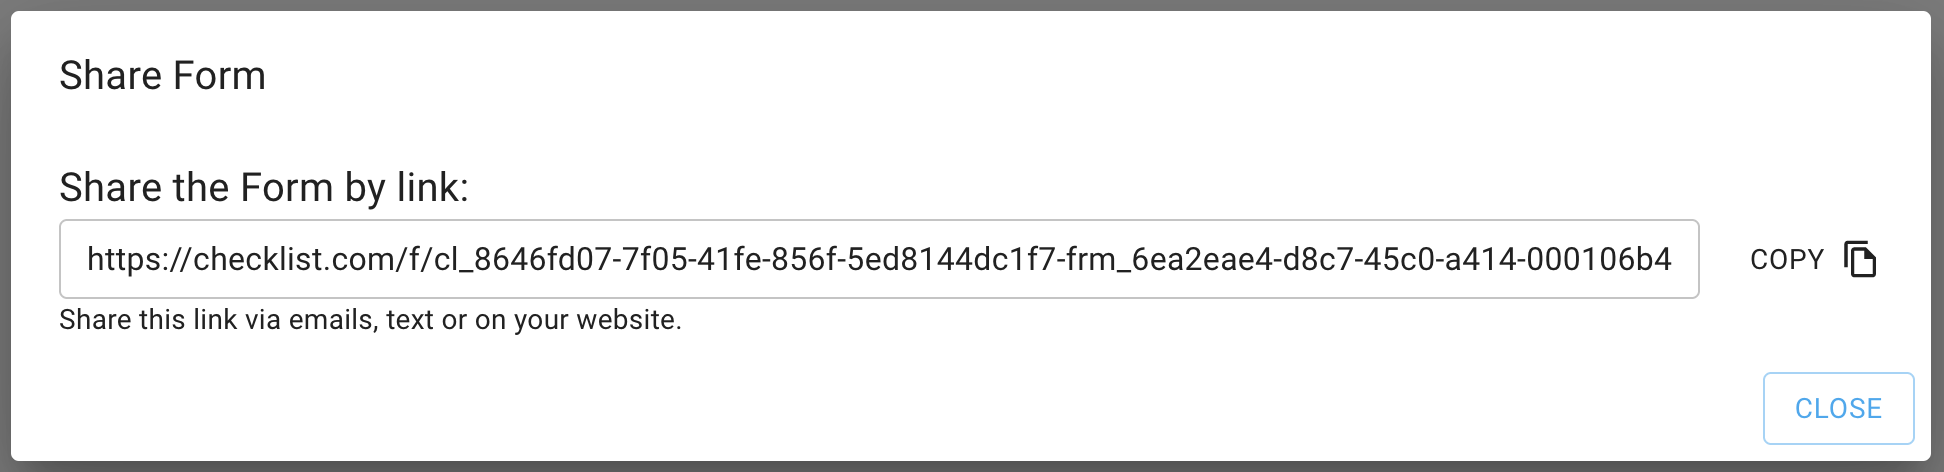
Click on the Copy button to copy the link to your clipboard.
Embed
To embed the form on your website, click on the Embed button. This will open the Embed dialog:
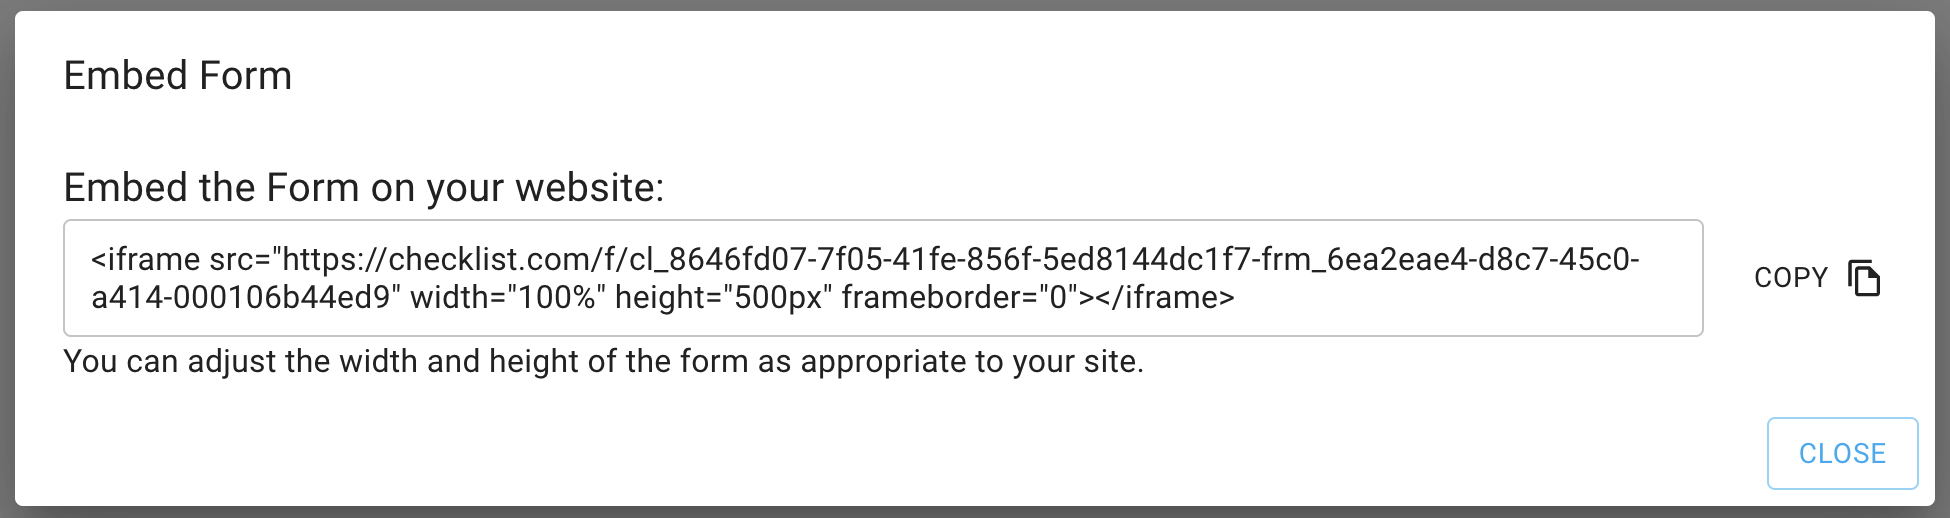
Click on the Copy button to copy the embed code to your clipboard. Then, paste it into your website’s HTML code.
QR Code
You can also share your form via a QR code. To do so, click on the QR Code button. This will open the QR Code dialog. You can then download the QR code image and use it in your marketing material: stickers, flyers, posters, etc.
Working with Submissions
Each recorded submission is automatically added to the checklist as a task. Users can conveniently view these tasks in both Table (preferred) and List views of the checklist. Columns will include each of the answers given to the questions.
In addition to form-related fields, you can add columns to facilitate task processing. These columns are not visible to responders and remain private to the checklist users.
For instance, include a Priority column (high/medium/low) to determine the urgency of processing. Alternatively, an Assignee field can be added to distribute tasks among team members. Feel free to customize and manage additional fields as needed, providing flexibility for effective task management within your team.
Team Work
When collaborating in a team, it is convenient to assign each response to a specific team member for processing.
The checklist owner can further enhance team coordination by setting the Permissions level of the checklist to “Assign” ↗. With this setting, team members who are not owners will only have visibility and updating capabilities for tasks assigned to them. This ensures a streamlined and organized workflow within the team.