The Task
Tasks are the main building blocks of a Checklist. Read more about tasks in Checklist.
Table of contents
To make changes to a task you can: check the checkbox, click to edit the task name, or trigger additional actions by opening the task menu or swiping the task.
Swipe: You can swipe tasks left or right to reveal more actions:
To clarify what we mean by swipe directions:
- Swipe Right: swipe from left TO right
- Swipe Left: swipe from right TO left
Task menu: additional actions on a task can be performed by clicking on the task menu button. That is the button with 3 horizontal (on iOS) or vertical (on Android) dots. This will open the task menu. The actual options available depend on the checklist type and your permissions:
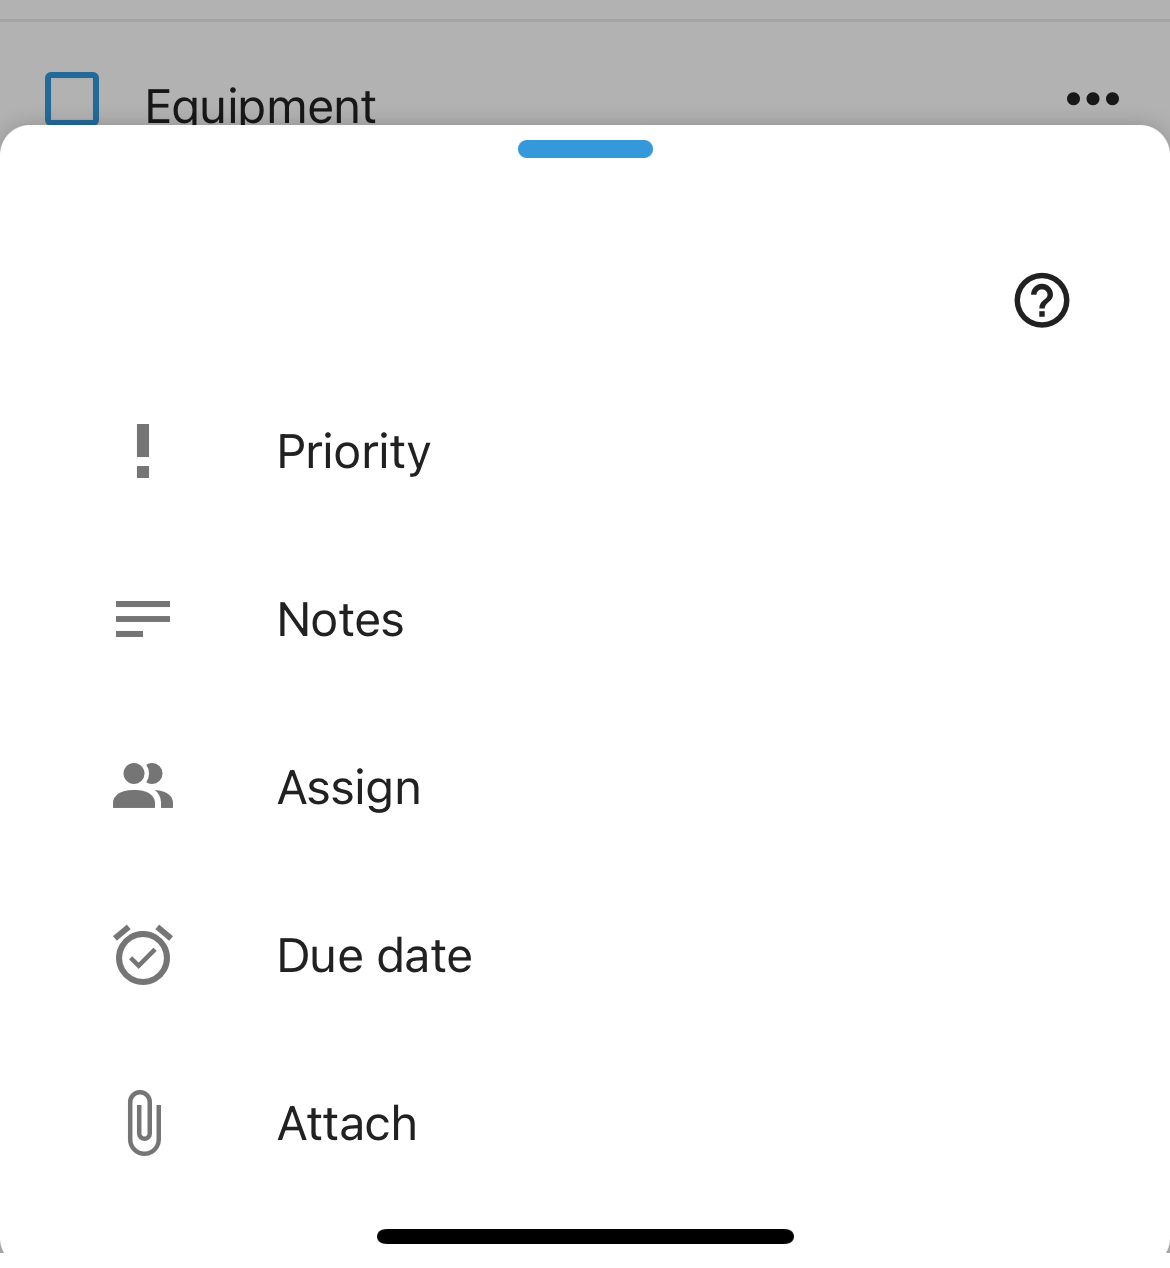
The following task actions are available:
Status
You can control the status of a task using its checkbox: check (completed) and uncheck (open). Note that once a task and all its siblings (i.e. on the same level) are completed, its parent task is also marked as completed. This goes up all the way to the checklist. If any subtask is open, then its parent task must also be open. Changing the status of a task will make all its children have the same status.
Name
Click on the task name to start editing it. Hit ‘done’ to save. Note that it is not possible to have “new lines” in task names. This allows for easy editing. If you want text with paragraphs, enter it in the task notes.
Delete
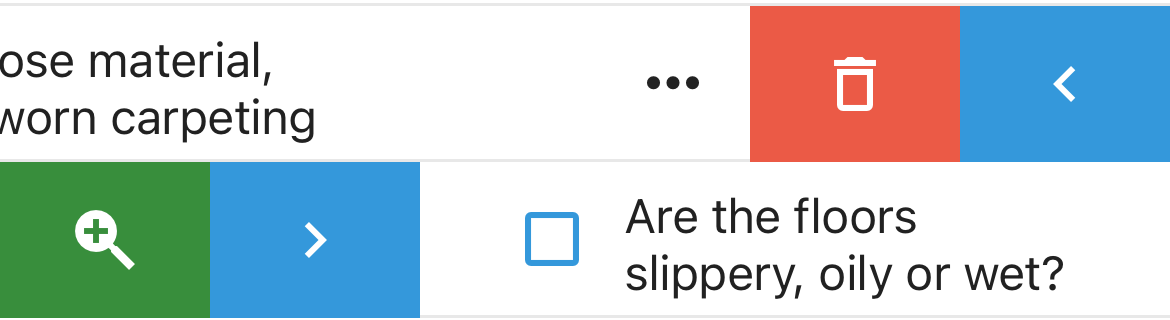
To delete a task, left swipe it and click on the red Trash button. The task (and any of its subtasks) is immediately deleted.
Subtask
You can have (virtually) unlimited levels to your checklist using subtasks. Subtasks are useful in breaking down a task into smaller subtasks.
To make a task into a subtask of the task above it, right swipe it and click on the > (subtask) button. The subtask (and any of its children) will be indented to the right.
UnSubtask
To reverse a subtask action, left swipe the task and click on the < (unsubtask) button. This will also affect any of its own subtasks.
Zoom
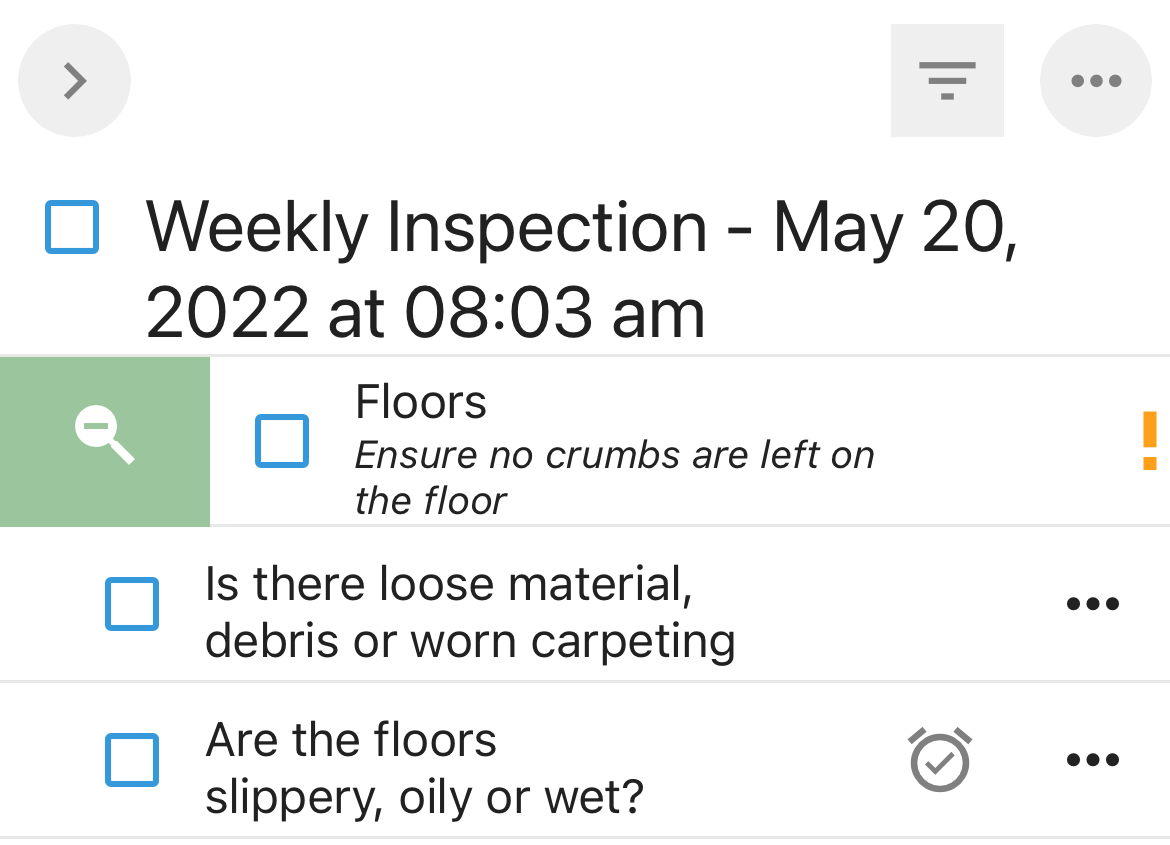
Sometimes it is more productive to zoom on just a subtask (and any of its children). Here’s how:
Right swipe the task and click on the Zoom button (Green magnifying glass). While in zoom mode, you can then add more children to the task. You can further zoom or simply zoom out by swiping right again on the zoomed task and clicking on the unzoom button:
Priority
You can mark a task priority as: Low, Medium, or High. Once selected, this priority is shown with a colored ! on the task itself (tip: click on the ! to change it directly without having to open the task menu):

Notes
Additional task notes can be added by clicking on the Notes option from the Task Menu. This will open the Notes dialog where you can enter your notes:
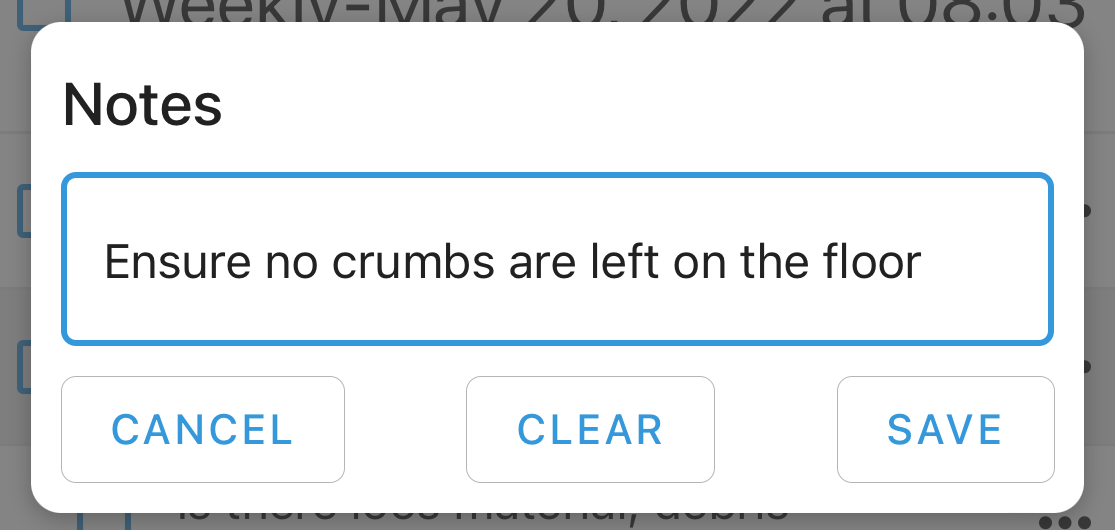
Tip: Click directly on the task notes for a shortcut to edit them.
Assign
Checklists that are shared with more than one user can have their tasks assigned to user(s) or the whole team (if the checklist is shared with the whole team). Clicking on the Assign option opens its menu:
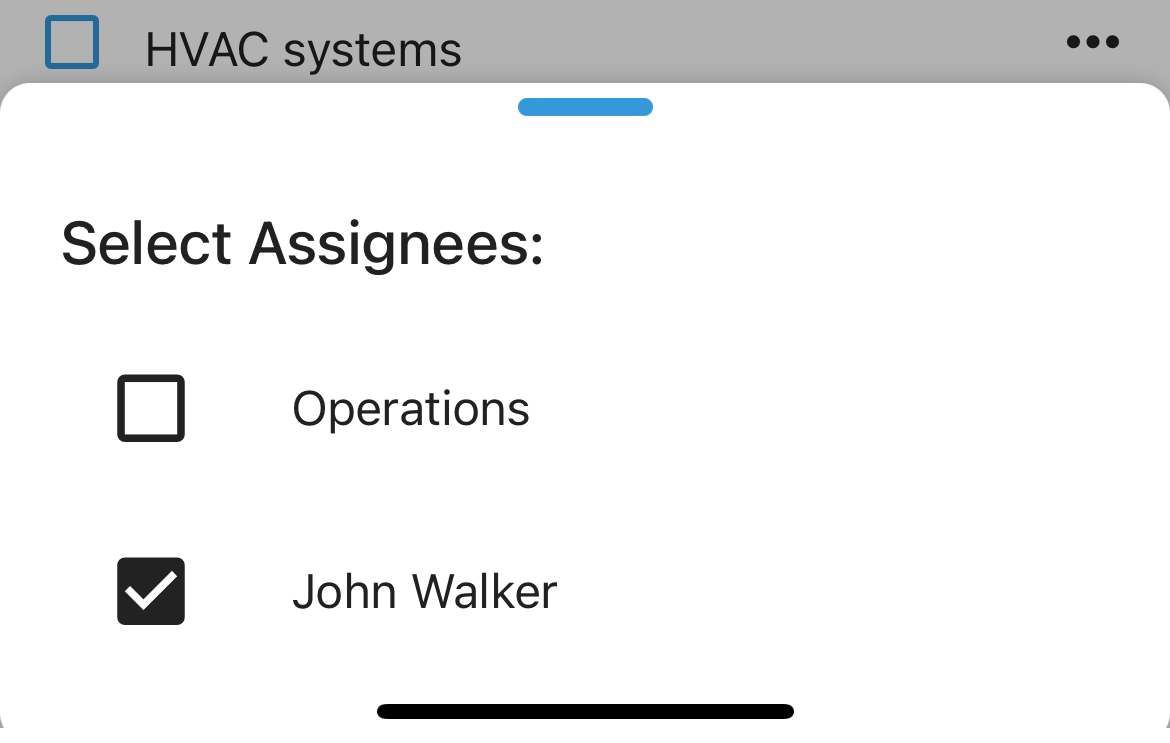
Tip: click on the assignee Avatar on the task for a shortcut to opening the Assign menu.
Due Date
To set a due date (or time) for a task, select the Due Date option from the Task menu. This will open the Due Date Menu:
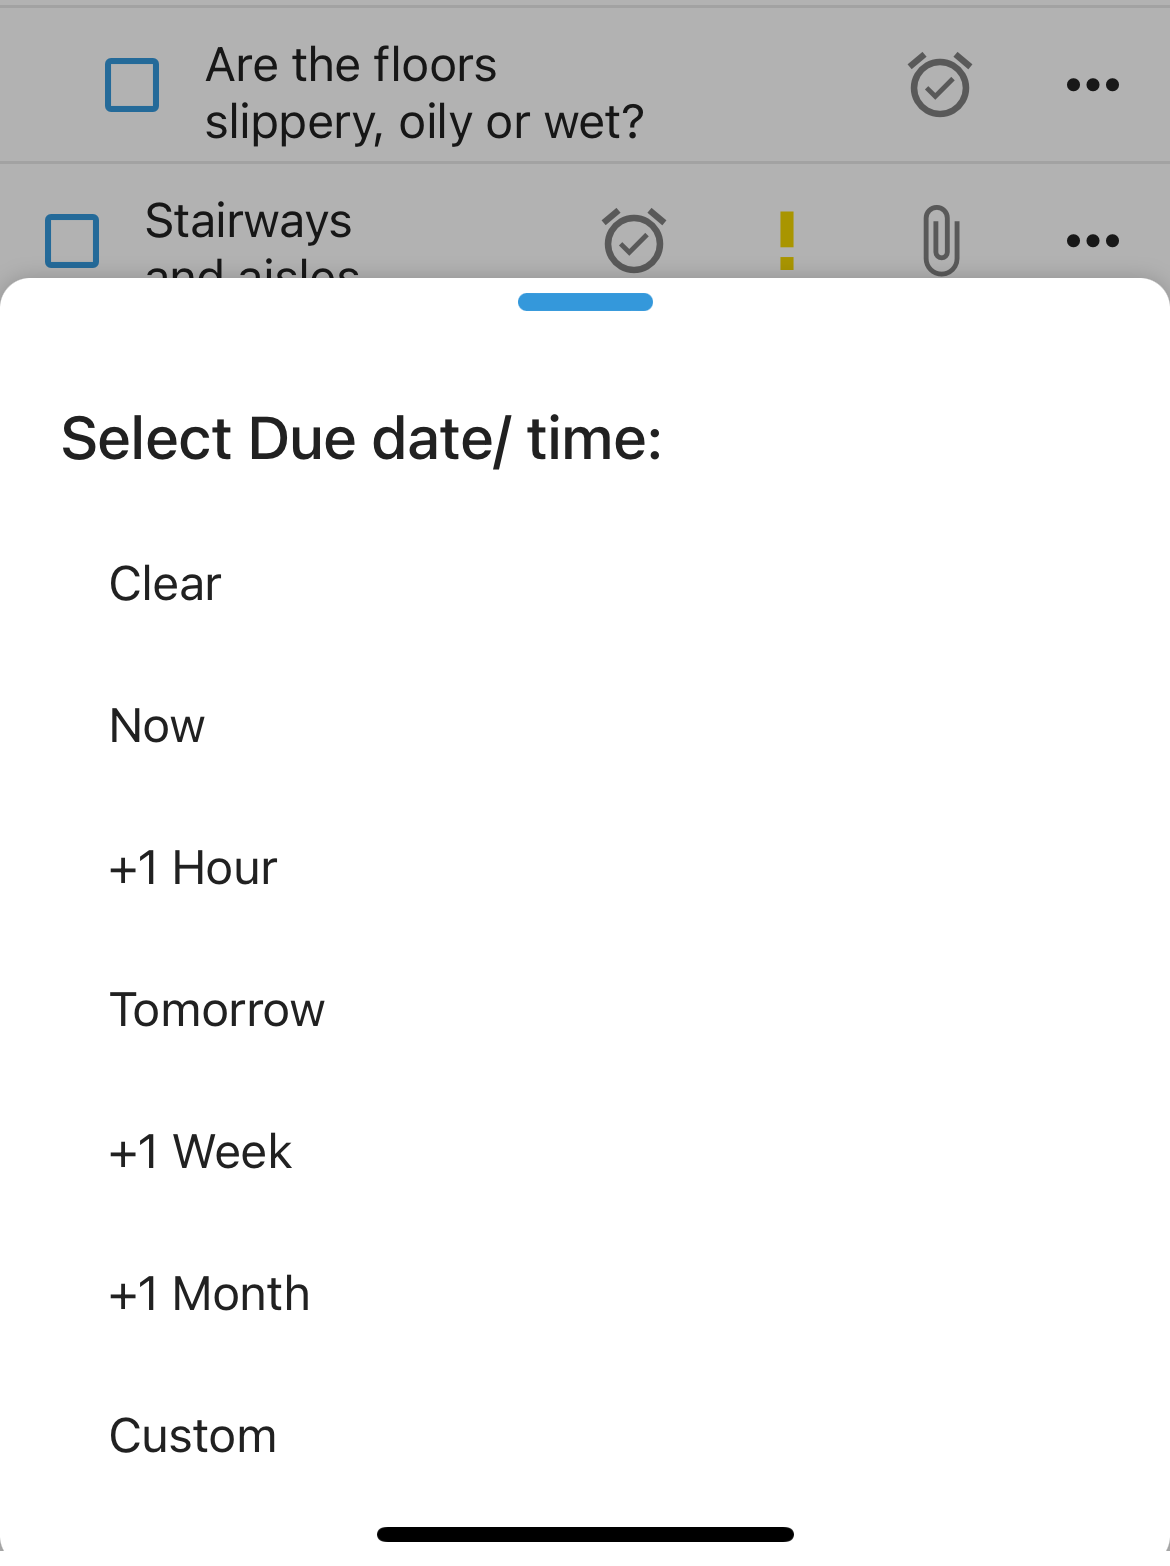
You can select any of the standard options: Now, +1 Hour, Tomorrow, +1 Week, +1 Month. The Custom option will open a Date & Time picker for finer granularity. You can also delete an existing due date by clicking on the Clear option.
Note: if you open the due date for a task which already has a set due date, you can see it at the top of the Due Date Menu.
Tip: click on the task due date icon to directly open the Due Date menu (without having to go through the Task Menu).
Attachments
You can add one or more attachments to a task. Click on the Attach option on the Task Menu to open the Attachments menu:
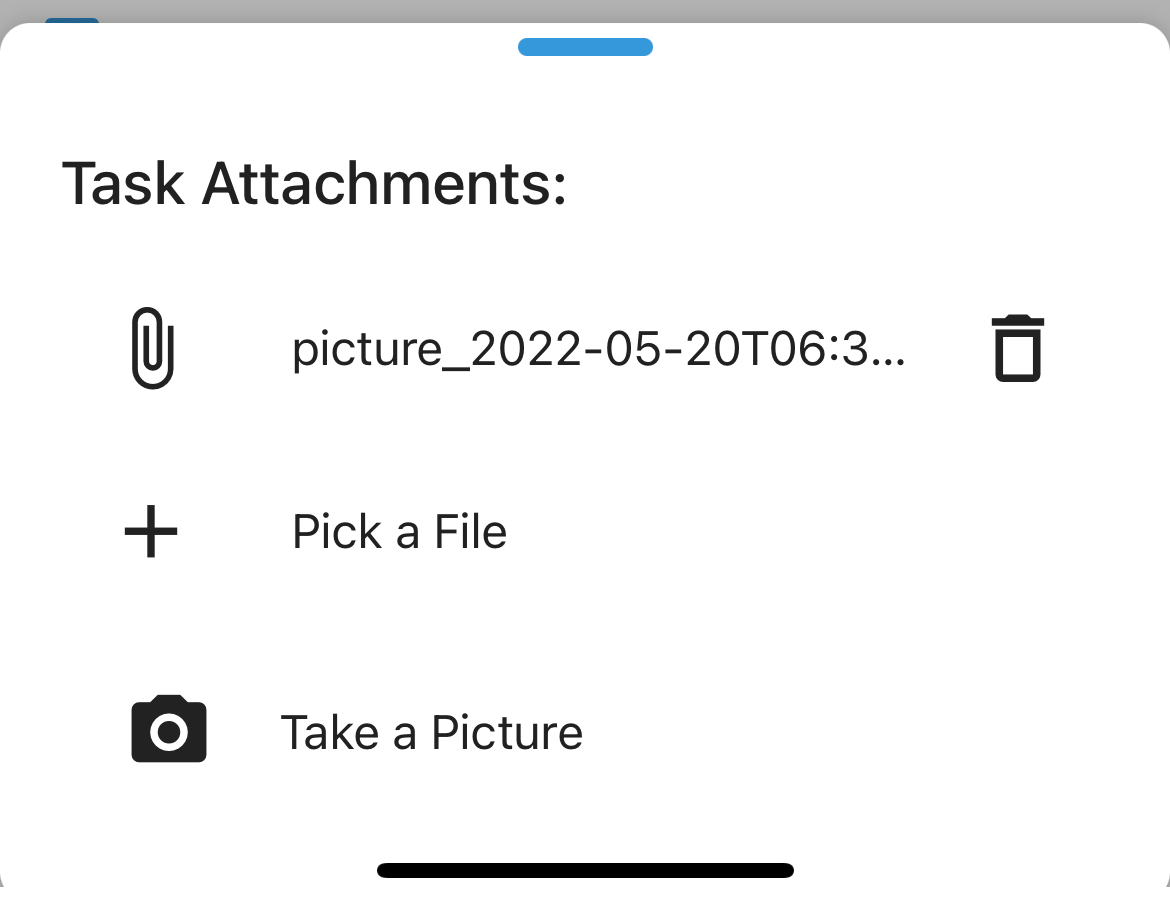
You can view any existing attachments by clicking on them. You can delete them by clicking on the Trash button to the right of the attachment. To add a new attachment you can either pick an existing file from your phone or take a picture using your phone camera. Once added, the attachment file will be available from the Attachments menu.
Tip: Directly clicking on the Attachment icon of a task will open the first attachment (if more than one) of the task bypassing the Attachments menu.
Re-Order
To re-order tasks, long press the Task Menu button and then drag the task up or down to the new desired place. Note that if the task being dragged has any subtasks, those will be hidden while dragging and then be revealed again once the task is dropped.