Checklist View
Table of Contents
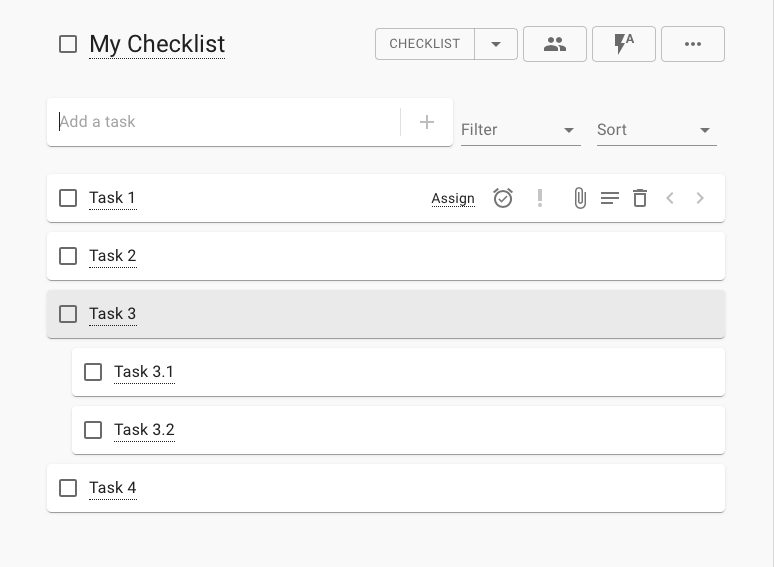
The Checklist View is a simple yet powerful tool, offering a “To-Do” style interface for your checklist:
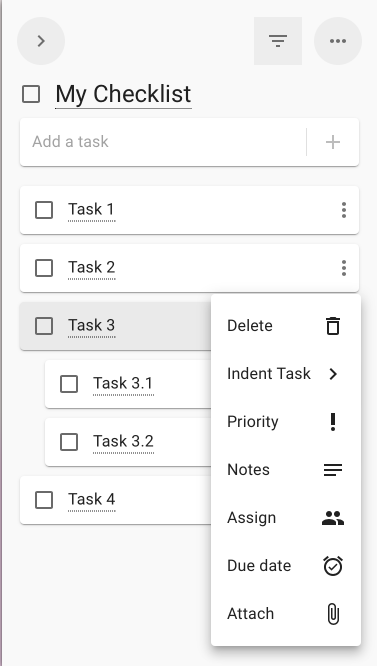
On mobile, the Checklist View appears as follows:
Adding Tasks
At the top of the page is the Add Task bar. Enter the task name and either press Enter or click the + button to add your new task.
Your new task is added:
- At the top of the list if no task was selected.
- Below the selected task (and then becomes selected itself).
You can continue adding tasks by entering the task and pressing Enter repeatedly. Task names can be 1-500 characters long.
Multitask Adding
To add multiple tasks at once, click on the Add Multi button:

Enter one task per line. You can easily paste tasks from another document. To include subtasks, use a TAB at the start of the line for deep nesting.
Tip: To add a note to your task, use a period (.) at the end of the task name and follow with the note, e.g., “Task name. Task note.”
Selecting Tasks
Task selection is useful when adding tasks as the newly created task is added right below the selected task. Selected tasks have a gray background.
To select a task, click anywhere on it. To de-select a task, click on it again.
Editing Task Name
To change the task name, click on it to enter “Edit Mode”:

Make any changes required and press:
- Enter to save your changes and exit “Edit mode.”
- ESC to exit “Edit Mode” without making any changes.
You can also click anywhere outside the textbox to save your changes and exit “Edit Mode.”
Task Menu
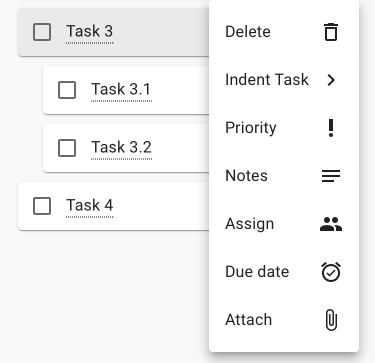
The task menu:
- On desktop - can be seen by hovering over the task with the mouse:

- On mobile - can be opened by clicking on the three dots button on the right of each task:

Which opens to:
Task Notes
To further elaborate on a task, you can add Task Notes:
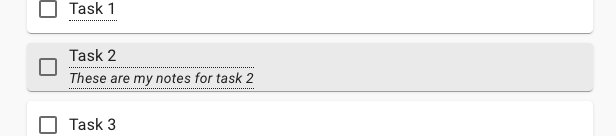
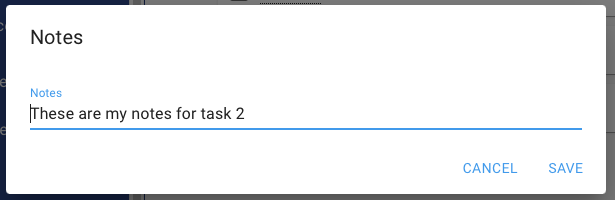
To add a note to your task, click on the Notes button on the task menu:

If you wish to edit existing notes, you can also click on the notes themselves. The Notes dialog will open:
Deleting Tasks
To delete a task, click on the Delete button (Trashcan) on the task menu:

Subtasks
Sometimes a task can (or should) be broken into a number of subtasks. To add a subtask to a parent task:
- Select the parent task by clicking on it.
- Add the subtask by using the Add Task bar (the subtask will be added just below the parent task).
- From the Task menu of the subtask, click on the “subtask” button:

To reverse this and make a subtask back to a task, use the “Unsubtask” button:

Note: The “subtask” and “unsubtask” buttons will be grayed out if they cannot be used at that level.
Setting Due Dates
To stay on track, you can assign due dates to your tasks. These due dates trigger notifications (via email, reminders, or the app) if your task remains incomplete by the specified due date or time.
To set due dates for tasks, click on the Due Date button on the task menu:

This will open the “Due Date Quick Set” menu:
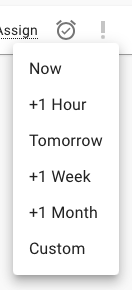
Click on the time you wish to set the due date for, such as Now, +1 Hour, Tomorrow, +1 Week, +1 Month, Custom, or “Clear” to remove an existing due date. Once set, you can see the due date on the task:

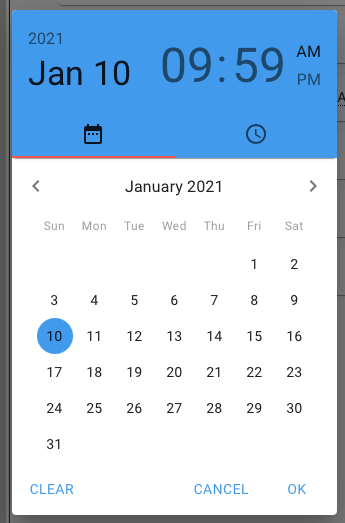
For a more granular/custom due date, click on the due date text (e.g., “in 7 days”), and the Due Date dialog will open. Set a date and time and click OK to confirm:
Task Priority
Not all tasks are born equal. You can set a task priority by clicking the Priority button on the task menu:

This will show the Priority menu:
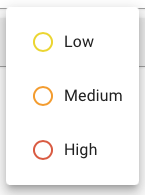
Choose from:
- Low
- Medium
- High
You can make changes to these priorities by visiting the Table View and modifying the Priority column. You can add more priorities, edit, remove, or change colors. Once set, the task priority will be shown on the task:
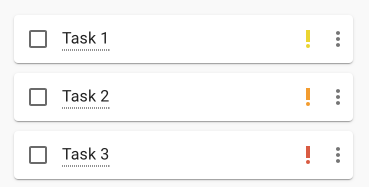
To remove a task priority, click on the existing priority on the Priority menu.
Assigning Tasks
To share your workload, and improve your productivity, you can assign tasks to colleagues, customers, friends, and family. To assign a task, click on the Assign button on the task menu:

This will open the Assign dialog:

Assign one or more persons to a task. You can also assign the entire team. Check to add a person to the assignees list. Uncheck to remove.
To close the Assign dialog, press ESC or click anywhere outside the dialog. Once assigned, avatars will be shown on the task:

Note: If people are already assigned to a task, you can open the Assign dialog by clicking on their avatars.
Task Attachments
Attach files to tasks, including images, PDFs, Word documents, or other file types. To attach a file, click on the Attach button on the task menu:

The Attach Dialog will open:
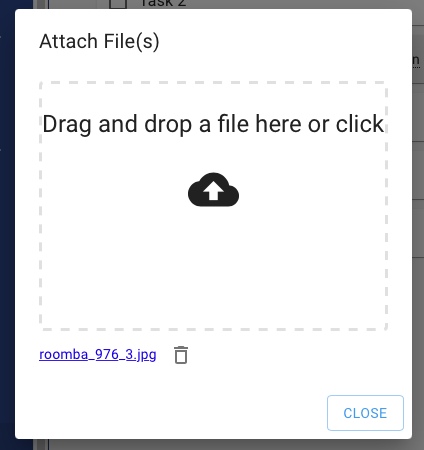
Drag and drop a file on the drop zone or click on the drop zone to open the file navigator. Once selected, the file will be uploaded to the cloud, and you can click on the link to open it in a new tab. To delete an attachment, click on the Trash button.
Click the Close button to close the dialog. If a task has an attachment, it will be shown on it:

To view, add, or delete attachments, click on the Attach icon or click Attach from the task menu.
Filtering Tasks
By default, the Checklist View shows all tasks. To filter tasks, use the Filter menu:

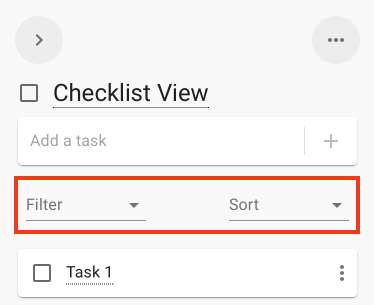
On mobile, click on the Sort/Filter button to reveal the menu:
Filter options include:
- None: all tasks
- Open: tasks with the Open (unchecked) status
- Completed: tasks with the Completed (checked) status
- Any Priority: tasks with ANY priority
- Low, Medium, High: tasks with Low, Medium, or High priority
- Any Due Date: tasks with any due date (not completed)
- Today: tasks with a due date for today (not completed)
- Past: tasks with a due date in the past (not completed)
- Future: tasks with a due date in the future (not completed)
Sorting Tasks
By default, the Checklist View does not sort tasks. Manual sorting is available by dragging tasks. For automatic sorting, use the Sort menu:

On mobile, click on the Sort/Filter button to reveal the menu:
Sort options include:
- Manually: show according to user’s manual sorting (Drag and Drop or entering order)
- Alphabetically: up/down
- Priority: by priority up/down
- Status: by status up/down
- Due date: by due date up/down